Table of Contents
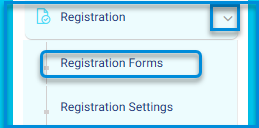
Registration Form Settings: #

- Add New Registration Form:
- Click on the “Add New Registration Form” button.
- Enter the form title in the title field.
- Click on the dropdown menu to choose the type of registration.
- Select the type of registration: student or guardian.
- Click the “Save” button. Note: A ready-made registration form can be selected from the platform.

- Configure Fields Specific to the Form:
- Click on the “Fields” button for the form.
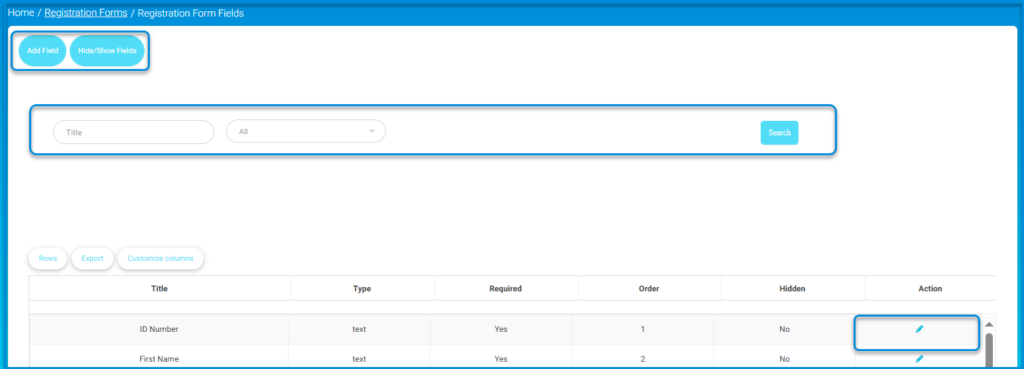
- The system navigates to the screen for selecting desired fields.
- Click on the “Add Field” button.
- Enter the field data as follows:
- Enter the field title.
- Enter the field title in the secondary language for guardians
- . Note: The field title must be entered in the secondary language for guardians due to language differences.
- Specify the field type (text, file, etc.).
- Select the verification type for the field from the dropdown menu to choose its display method. Note: Control over the field’s requirement can be managed as mandatory or optional by clicking the “Required” button.
- After completion, click the “Submit” button.

Note: Control over the fields specific to the registration form can be adjusted using the “Edit” button associated with the registration field, specifying its visibility or concealment.
- Click on the “Edit” button for the field from the fields table.
- Move to the edit screen.
- Click on the “Required” button to clarify the requirement for guardians to input this data.
- Additionally, any of these fields can be hidden or shown


