By following the coming steps, you can create, view, manage, and customize contests or activities within the system.
To create a contest/activity:
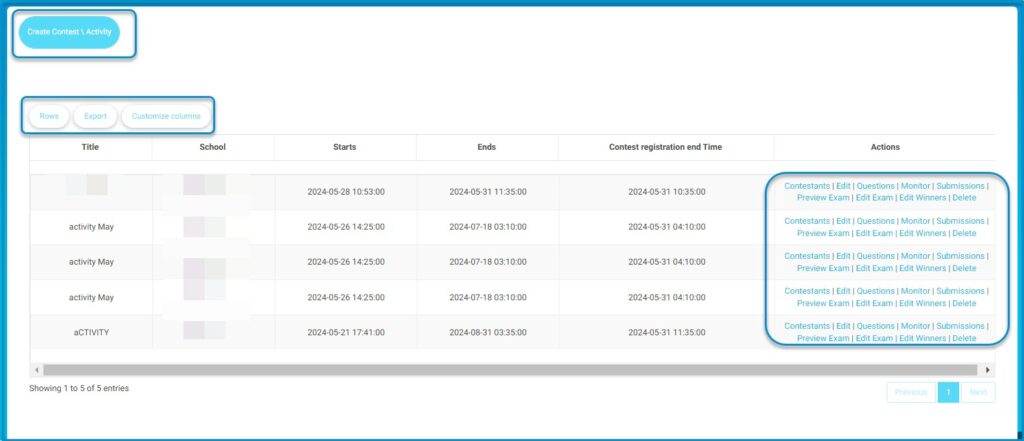
- Click the “Create Contest/Activity” button to start creating a new contest or activity.
- Browse the table to view details such as Title, School, Start and End Dates, and Contest Registration End Time.
- Adjust the number of entries displayed by using the “Rows” button.
- Download the data by clicking the “Export” button.
- Manage specific contests or activities using action buttons to view or edit contestants, questions, monitor submissions, preview or edit the exam, edit winners, or delete the entry.
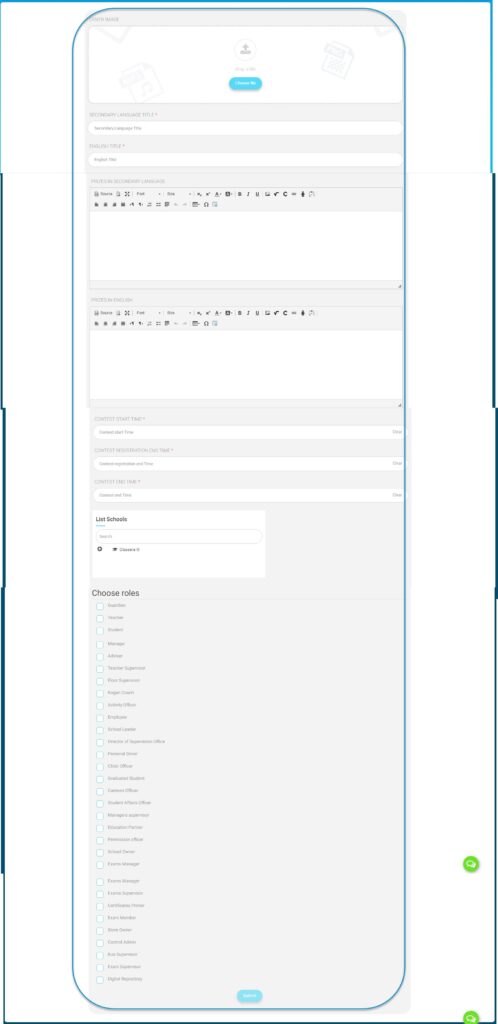
- Click the “Choose file” button at the top to upload a file.
- Fill in the Title and Description fields.
- Use the rich text editor to add any additional details.
- Set the content start and end dates using the dropdown calendars.
- Enter the registration start and end dates for the contest or activity.
- Choose schools involved by selecting from the dropdown menu or check the box for “All Schools.”
- Select the appropriate roles for participants from the provided list.
- Click the “Submit” button at the bottom to finalize and save the contest or activity.


